Best Practice
Do not begin any End of Year process before you have read these instructions in full.
Prior to running an End of Month or End of Year in Micronet, it is best practice to have a complete backup of your Micronet system.
|
|
|
Best Practice Do not begin any End of Year process before you have read these instructions in full. Prior to running an End of Month or End of Year in Micronet, it is best practice to have a complete backup of your Micronet system. |
In Micronet version 2.8, a new financial year needs to be set up in the General Ledger prior to running an End of Month in June. In addition, if your GL is set up with T accounts, you need to create new T account combinations on the chart of accounts for the new financial year.
|
|

|
Warning It is essential that each of these processes is monitored. Do not start a process and then leave it unsupervised. If an End of Period or End of Year process has not completed, under no circumstances should it be restarted. Contact Service Desk immediately if you suspect that there has been, or is a problem. |
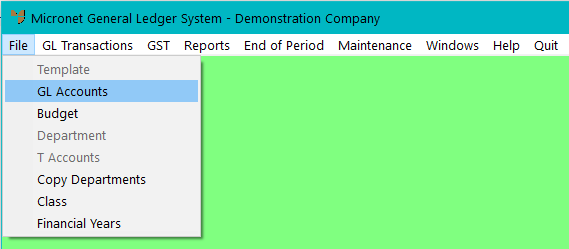
To activate a new financial year in the Micronet General Ledger:
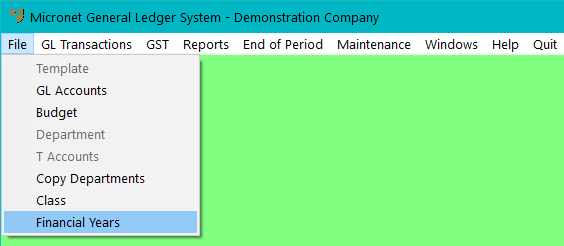
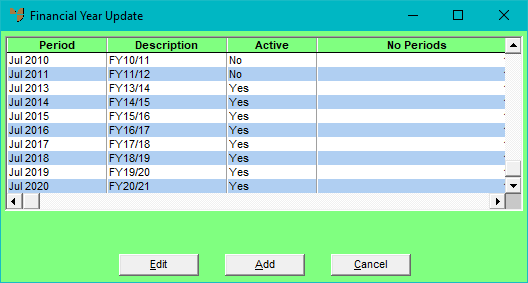
Micronet displays the Financial Year Update screen showing the previous and current financial years set up in Micronet.
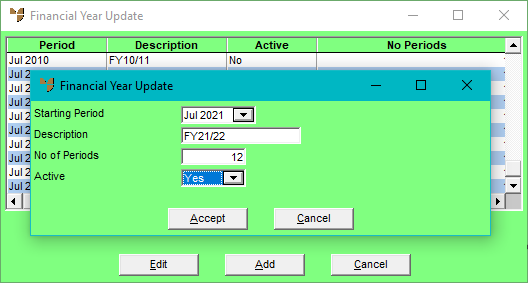
Micronet displays a screen asking for the new financial year details.
Enter a description for the new financial year in the Description field, e.g. “FY21/22”.
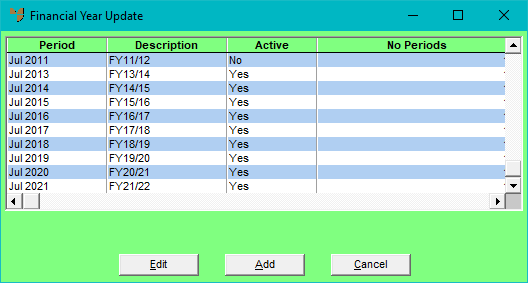
The Financial Year Update screen is redisplayed with the new financial year added.
To create new T account combinations on the chart of the accounts for the new financial year:
Micronet displays the Account Selection screen.
Micronet displays the Account File Update screen.

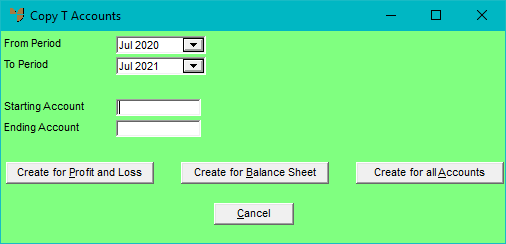
Micronet displays the Copy T Accounts screen.
|
|
|
Warning Before you complete the next step, you should check each GL account in your chart of accounts to see what T account combinations are allowed. T account combinations might not be permitted on certain GL accounts, e.g. there might be different T account combinations on the Undeposited Funds account for each branch in a multi-branch site. If you want to use the Create for all Accounts button to copy the selected T account combination to all GL accounts in your chart of accounts, you can either make sure that you do not include those accounts in the range or, if you do include them, edit the T account combinations on those accounts to set the Active field to No so users cannot post to them. |
Micronet creates the new T account combinations for your chart of accounts for the new financial year.
In the Creditors Ledger and Distribution, the End of Year procedure is run as an additional task, immediately after the End of Month procedure for the last month of the financial year.
You should read this document with your End of Month procedures.
Essentially, the End of Year process for Distribution runs through all of the data files and zeros the Year to Date values. For that reason, the process must be run immediately after you finish your normal End of Month procedure.
|
|

|
Technical Tip From this point on, ALL users should be logged out of ALL applications. Terminals must not be left at the Micronet main menu; they must be logged out using START | LOGOFF at the Windows Start Menu. Users are allowed back in to Micronet when you are confident that the EOM and EOY processes have been completed successfully. |
|
|
|
Best Practice Before you start the End of Month process, the following reports should be printed and/or saved as a PDF (as a minimum) and retained for audit purposes:
|
Micronet records the End of Year processing date in the company files. As End of Year may be run in each module at different times, it is important that the correct date is recorded, e.g. 30/6/2021.
When the date is locked, it must be reset prior to posting any transactions in MDS. Micronet sets the date back to the system date. You may now let users into the system to continue trading for the new year.
Should the Year to Date values not be zero, or you are concerned about any figures displayed in your System Summary, please contact the Service Desk before continuing to trade.
As with Distribution, Creditors End of Year runs through all of the data files and zeros the Year to Date values. Again it is essential that the process is run immediately after you finish your normal End of Month procedure.
|
|
|
Best Practice Before you start the End of Month process, the following reports should be printed/and or saved as a PDF (as a minimum) and retained for audit purposes:
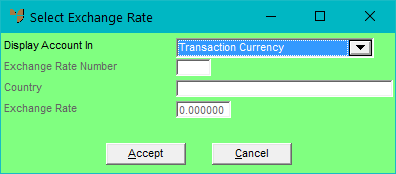
Note that if you are set up for multi-currency creditors, you must run these reports in the base currency set up in your Micronet system. That is, when you print the reports, make sure you set the Display Account In field to Transaction Currency on the Select Exchange Rate screen. This converts all transactions to the base currency using the transaction exchange rate.
|
Select REPORTS | CREDITOR INQUIRY, select a creditor then select INQUIRY | ACCOUNT INQUIRY.
Select REPORTS | CREDITOR INQUIRY, select a creditor then select INQUIRY | CREDITOR SUMMARY.
You may now let users into the system to continue trading for the new financial year.
Should the Year to Date values not be zero, please contact the Service Desk before continuing to trade.
|
|
|
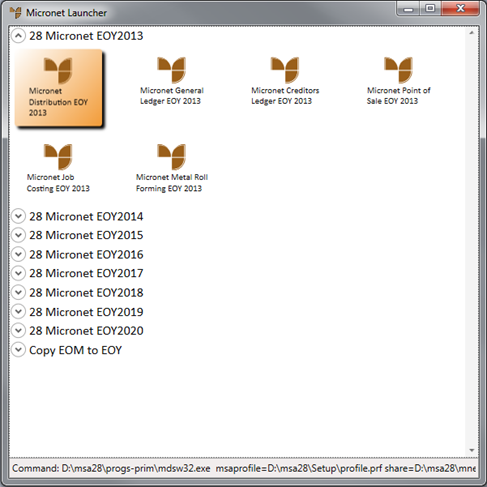
Technical Tip If your site has been set up by Micronet Service Desk staff to retain access to multiple End of Year data sets (a chargeable service), users should have access to an additional shortcut named Micronet EOY Launcher. This launcher provides access to the relevant applications for each financial year.
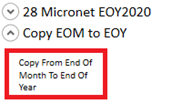
If you want multiple EOY datasets which are accessible at all times, select Copy EOM to EOY then click on the Copy From End of Month to End of Year utility.
This copies the End of Month data from \MSA28\MnetEOM to the new EOY data area. |
|
|
|
Warning You must do this before you run the next End of Month or you will overwrite your End of Year data for June. |